First Timer Guides · Part 3
From Day Hikes to Backpacking: When You're Ready to Level Up
You've done the day hikes. You've spent a few nights at campgrounds. You know your gear, you've got the 6 Essentials memorized, and somewhere in the back of your mind, a question has been forming: What if I kept going? What if I hiked to a place where there are no parking lots, no picnic tables, no snack bars — just me, my pack, and whatever I can carry?
That question is the beginning of backpacking.
Backpacking is harder than day hiking. It's heavier, slower, and more logistically demanding. It's also, without exaggeration, one of the most rewarding things you can do outdoors. Earning a campsite by walking to it — miles from the nearest road, surrounded by nothing but wilderness — changes the way you think about what you're capable of.
This guide will help you figure out if you're ready, what you need, and how to plan a first trip that sets you up for success instead of suffering.
The Readiness Checklist
Backpacking isn't something you jump into from zero. It builds on everything you've learned from day hiking and car camping. You're probably ready if:
- You've completed several day hikes of 6 miles or more without being completely wrecked at the end. Backpacking days are often 6-10 miles, and you'll be carrying a much heavier pack.
- You've car camped at least 3-4 times. You know how to set up a tent, cook a meal, sleep outside, and handle the unexpected. These skills transfer directly.
- You can set up your shelter and prepare food without help. In the backcountry, there's no camp host, no neighbor to borrow a lighter from, and no car to retreat to.
- You've hiked with a loaded daypack. If you've only ever walked with a water bottle and a granola bar, a 30-pound backpack is going to be a shock. Start training with weight before your first trip.
If a couple of these feel shaky, that's not a stop sign — it's a road map. Spend a few more weekends on the earlier skills and you'll be ready soon.
From 6 Essentials to 10 Essentials
On a day hike near a trailhead, the 6 Essentials cover your bases. But when you're miles into the backcountry with no quick exit, four additional items become critical. These are the 10 Essentials, and they exist because the margin for error shrinks dramatically when help is far away.
The Four Additions
Pocketknife or multi-tool. For cutting cord, repairing gear, preparing food, and a dozen other tasks that come up when you're self-sufficient. A basic Swiss Army knife or Leatherman is all you need.
Rain gear. A waterproof jacket and pants. On a day hike, getting caught in rain means an uncomfortable walk back to your car. On a backpacking trip, getting soaked without rain gear can lead to hypothermia — even in summer at higher elevations. Pack rain gear even when the forecast looks perfect. Mountain weather lies.
Extra trail food. Not just your planned meals, but emergency calories — an extra day's worth of high-energy, non-perishable food. If you get lost, injured, or weather-delayed, this is what keeps you fueled until you find your way out.
Map and compass. And the knowledge to use them. Your phone is a great backup navigation tool, but batteries die, screens crack, and GPS signals can be unreliable in deep canyons. A paper topographic map and a compass work in every condition, every time. Study your map before you leave, and know the basics of taking a bearing.
Every item on this list weighs almost nothing but can make an enormous difference when things don't go as planned. Don't skip any of them.
The Weight Problem (And How to Solve It)
Here's the single biggest shock for first-time backpackers: your pack is going to be heavy.
A day hiking pack might weigh 5-10 pounds. A backpacking pack with shelter, sleep system, food, water, stove, clothing, and the 10 Essentials can easily hit 30-40 pounds for a beginner. That's a significant load, and it changes the way you hike — slower pace, more rest breaks, and a very different relationship with uphill sections.
The good news: you can manage this with smart choices.
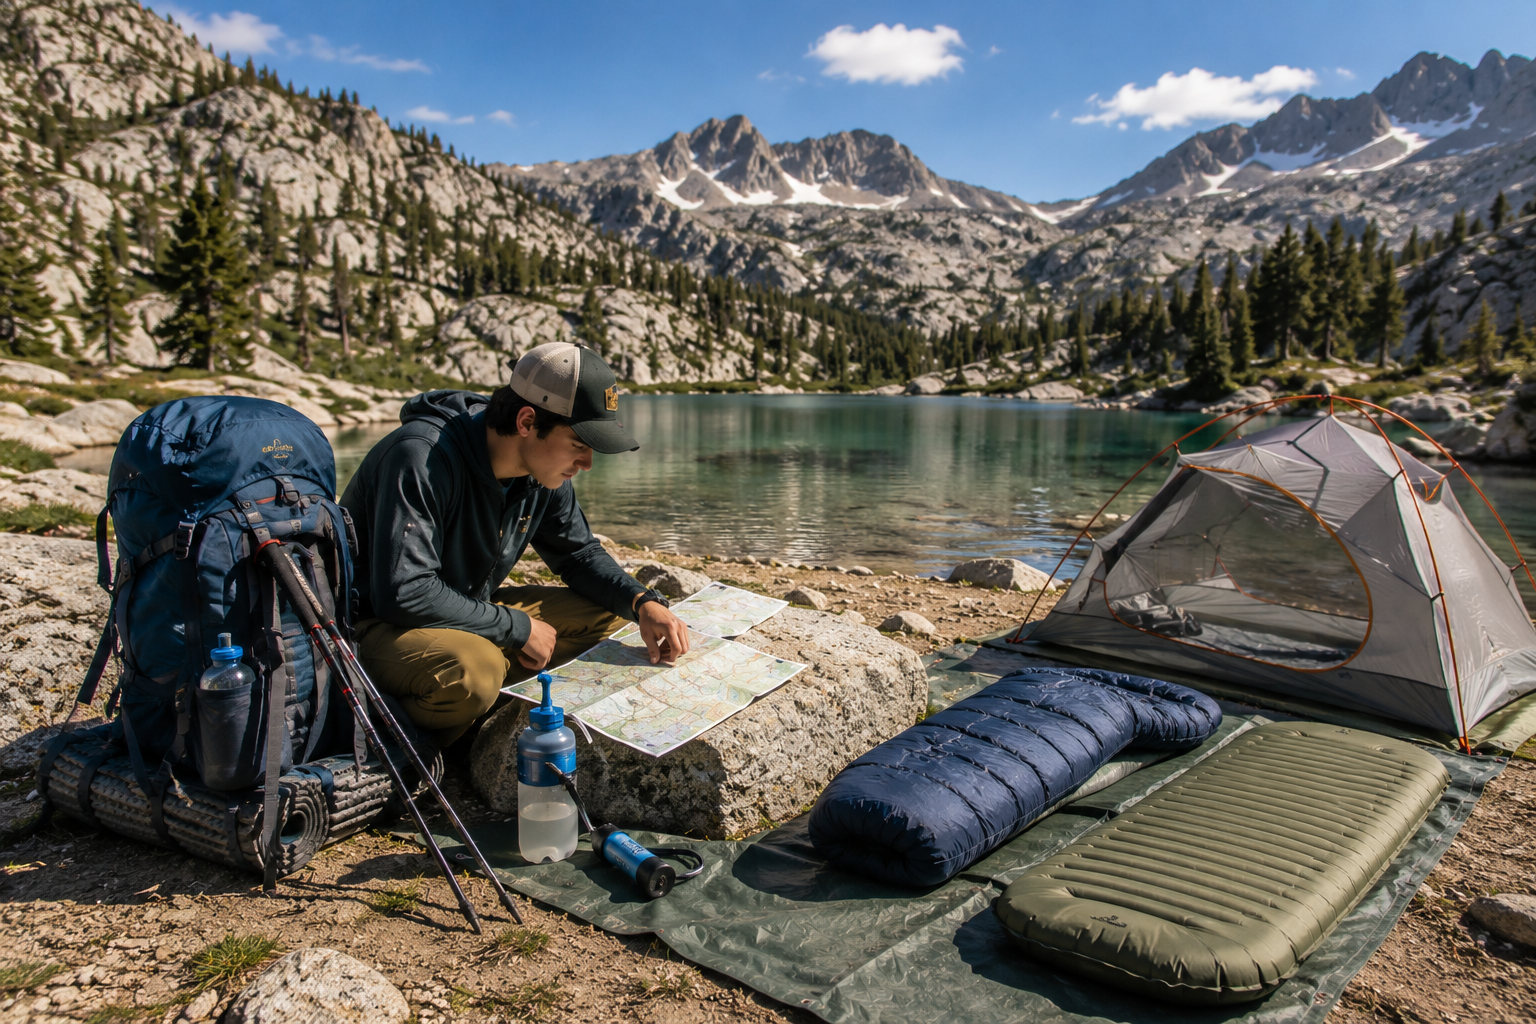
The Big Three
About 60-70% of your pack weight comes from three items: your pack, your shelter, and your sleep system. These are where weight savings matter most.
- Pack: A 50-65 liter pack is the right size for 1-3 night trips. Make sure it fits your torso length and has a supportive hip belt — most of the weight should ride on your hips, not your shoulders.
- Shelter: A 2-person backpacking tent typically weighs 3-5 pounds. Lighter options exist, but they get expensive fast. For your first trip, whatever tent you can borrow or afford is fine.
- Sleep system: Your sleeping bag and sleeping pad. A summer-weight bag (rated to 30-40°F) and an inflatable pad together should come in under 4 pounds.
The First-Timer Weight Strategy
Borrow before you buy. Backpacking gear is expensive, and you don't know what you'll actually like until you've used it on a real trip. Ask your troop, friends, or family. Many outdoor retailers also rent gear — it's a fraction of the purchase cost and lets you try before you commit.
Don't pack your fears. First-timers tend to bring extras of everything: extra clothes, extra food, extra "just in case" items. Each one adds weight. Lay out everything you're planning to bring, then remove a third of it. You'll still have too much, but it's a start.
Here's a rough weight comparison to set expectations:
Day hike pack
- Base weight (everything minus food/water): 5-8 lbs
- Food & water: 2-4 lbs
- Total: 7-12 lbs
Backpacking pack (beginner)
- Base weight (everything minus food/water): 18-25 lbs
- Food & water: 8-12 lbs
- Total: 26-37 lbs
It's a big jump. Respect it, train for it, and know that it gets lighter with experience — both because you learn what you don't need and because better gear weighs less.
Picking Your First Backpacking Route
This is where ambition and reality need to have an honest conversation.
Adventure Spark has some incredible backpacking routes: the Rubicon-Rockbound Wilderness Loop (38 miles, 4 days), the Tahoe Rim Trail segment from Tahoe City to Echo Summit (49 miles, 5 days), and the Desolation Wilderness Loop (28 miles, 3 days). These are stunning trips — and they're terrible first backpacking trips.
Your first overnight on the trail should be short, simple, and forgiving:
- One night, not three or four. You need to learn how your body handles a loaded pack, how your sleep system performs, and how your food plan works. One night gives you enough experience to learn from without committing to days of discomfort if something isn't right.
- Under 10 miles total. That means 4-5 miles in to your campsite, one night, 4-5 miles back out the next day. That's plenty.
- Reliable water sources. Carrying enough water for a multi-day trip is brutally heavy. Pick a route that passes a lake or stream where you can filter and refill.
- A well-marked, well-traveled trail. This isn't the time for route-finding through unmarked wilderness. Popular trails mean clear paths, other hikers nearby if you need help, and established campsites.
- Moderate elevation gain. Steep climbs with a full pack are exhausting. Save the mountain passes for trip number three or four.
Building Toward the Big Routes
Think of it as a progression. Your first trip might be a simple out-and-back to an alpine lake — something like hiking in to the Loch Leven Lakes area for a night. It's under 8 miles round trip, the trail is well-established, and you're camping near water with beautiful Sierra scenery.
After a couple of successful one-night trips, you'll be ready for a two-night loop. After a few of those, the routes on Adventure Spark's backpacking page become realistic goals rather than pipe dreams.
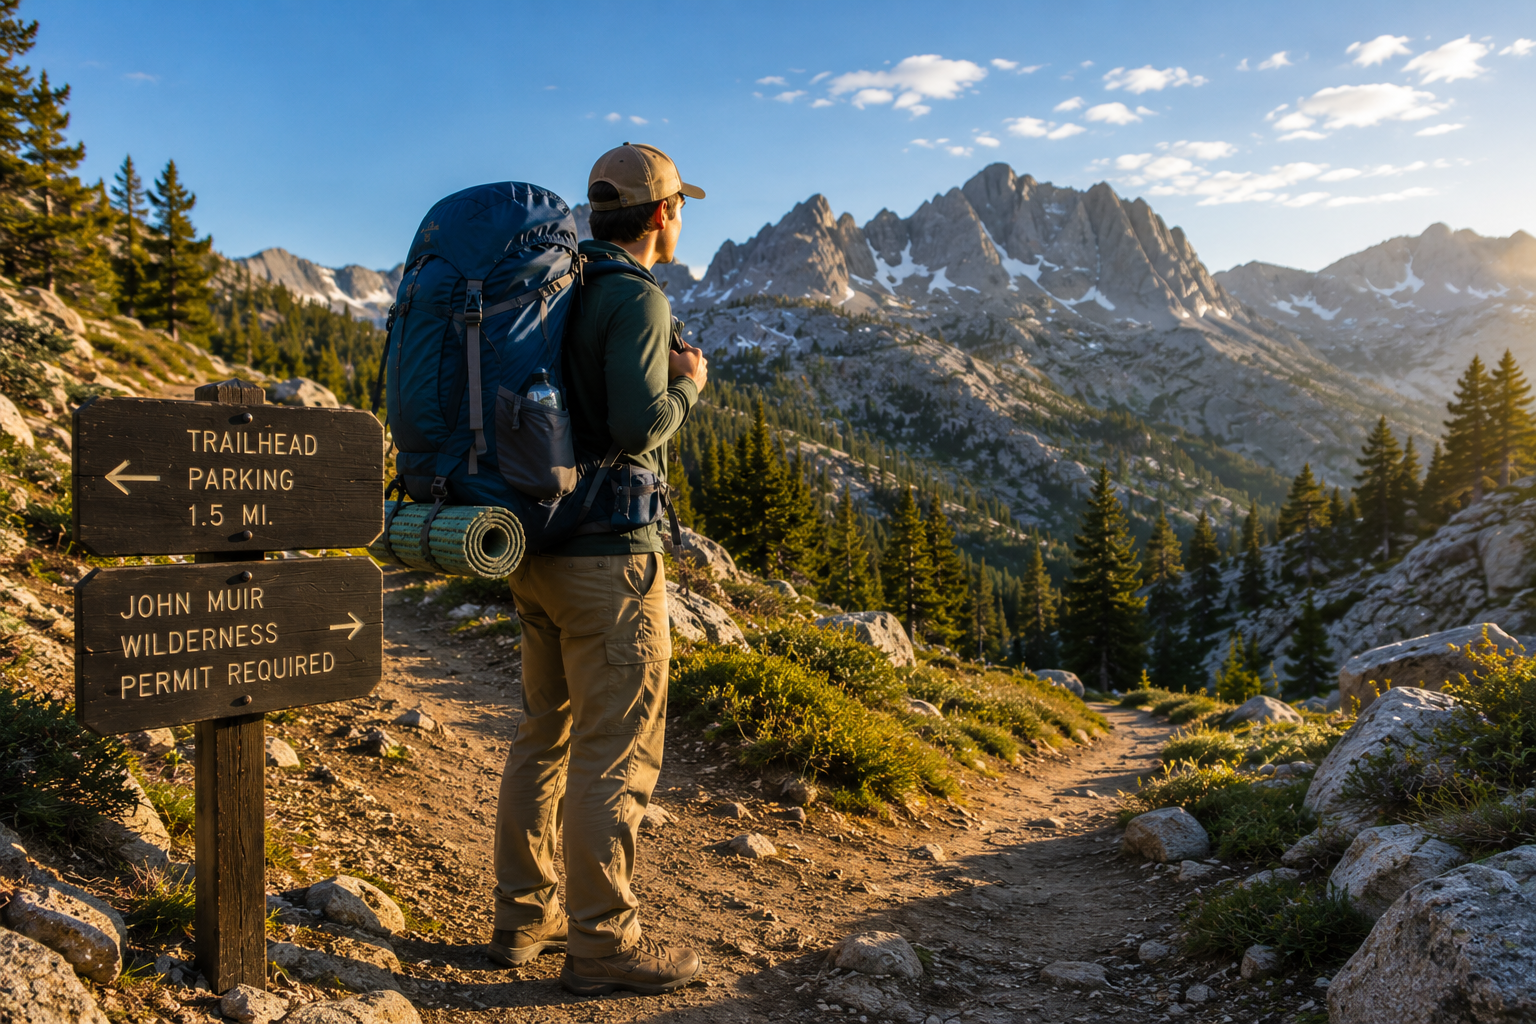
Permits and Logistics
Day hikers rarely deal with permits. Backpackers deal with them constantly. Here's what you need to know:
Wilderness permits. Many backcountry areas require overnight permits, and popular ones limit the number of permits issued per day. Desolation Wilderness — where several of Adventure Spark's featured routes are located — requires permits year-round for overnight trips, and summer quotas mean you need to plan ahead. Check the ranger district website for the area you're visiting and apply early.
Bear canisters. In parts of the Sierra Nevada, bear-resistant food canisters are required for overnight trips. These are hard-sided containers that bears can't open, and all your food, toiletries, and scented items go inside. They're bulky and add about 2-3 pounds to your pack, but they're non-negotiable where required. You can rent them from ranger stations and outdoor retailers.
Water treatment. Unlike campgrounds with potable water spigots, backcountry water sources need to be treated before drinking. A pump filter, gravity filter, squeeze filter, or chemical treatment (tablets or drops) are your options. Research what works best for your trip and practice using it before you go.
Leave a trip plan. Tell someone who isn't going on the trip exactly where you're going, which trailhead you're starting from, where you plan to camp, and when you expect to be back. If you don't check in by that time, they should know to call for help.
The Shakedown Trip
This is the single best piece of advice in this entire guide: before your first real backpacking trip, do a practice run.
Here's how: pack your full backpacking kit — every item you plan to carry — and hike to a car-accessible campground. Set up your tent, cook your planned meals, sleep in your setup, and hike back out the next day.
This does three critical things:
- It reveals what's too heavy. When you're sorting gear on your living room floor, everything seems necessary. After carrying it for 4 miles, your priorities get very clear very fast.
- It shows you what you forgot. Better to discover you don't have a spoon or your headlamp batteries are dead at a campground than 6 miles into the wilderness.
- It tests your sleep system. Did your sleeping pad deflate overnight? Is your bag warm enough? Is your tent easy to set up alone? You want answers to these questions before they become real problems.
Wrights Lake Campground and Loon Lake Campground are both excellent shakedown locations — they're near Desolation Wilderness trailheads, so the terrain and elevation are similar to what you'll encounter on real backcountry trips.
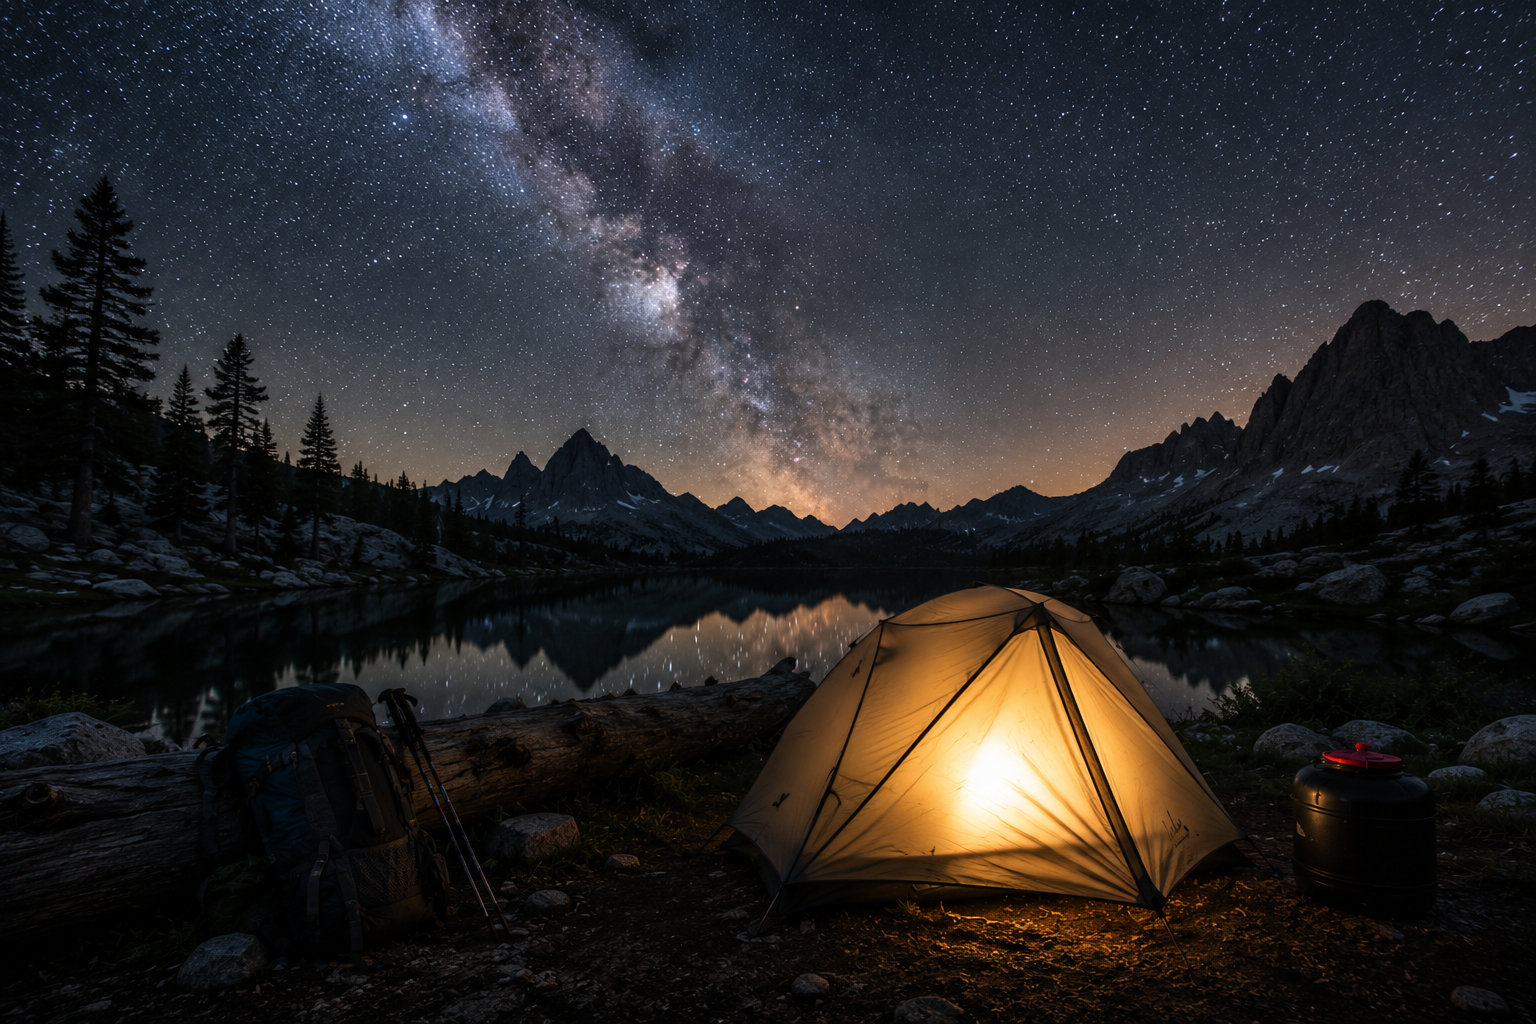
Your First Night in the Backcountry
It's different from a campground night. Quieter in some ways, louder in others. Here's what to expect:
It's darker than you think. No campground lights, no car headlights, no nearby town glow. On a clear night, the stars are staggering — you'll see the Milky Way in a way that's impossible from anywhere near a city. On a cloudy night, it's ink-black. Your headlamp is your best friend.
It's quieter than a campground. No car doors slamming, no generators humming, no neighbors talking. Just wind in the trees, water moving if you're near a stream, and the occasional animal. The quiet is part of the reward.
You earned this view. That's the thought that makes backpacking different from every other kind of camping. Nobody drove here. Nobody stumbled onto this spot from a parking lot. You carried everything you need on your back and walked until you found this place. That feeling of self-sufficiency is addictive.
You'll probably sleep rough the first night. The ground feels different than at a campground (because you probably had a flatter, more groomed surface before). You might be sore from the hike in. The sounds are unfamiliar. This is all normal, and it gets better with experience.
Your Progression Path
Backpacking doesn't have to happen all at once. Here's a realistic timeline for going from day hiker to confident backpacker:
Weeks 1-4: Train with weight. Start adding weight to your daypack on regular hikes. Begin with 15 pounds and work up to 25-30. Your legs, hips, and shoulders need time to adapt. Do at least one hike per week with a loaded pack.
Weeks 5-6: The shakedown trip. Full gear to a car-camping campground. Practice everything. Take notes on what worked and what didn't.
Weeks 7-8: Your first real backpacking trip. One night. Short miles. A well-known trail with reliable water. This is your graduation day.
Month 3 and beyond: Build distance and duration. Try a two-night trip. Add more elevation. Start eyeing the bigger routes on Adventure Spark's backpacking page. By mid-summer, the Desolation Wilderness Loop doesn't look impossible anymore — it looks like your next adventure.
Welcome to the Club
There's a quiet camaraderie among backpackers. A nod on the trail, a shared tip about a campsite ahead, an unspoken understanding that everyone out here chose to do something hard because the payoff is worth it.
You're part of that now. And your experience — the trail you chose, the spot you camped, the mistake you made and learned from — is exactly the kind of knowledge that helps the next person.